Z-Man Games have three small boxes containing rules and armies for fighting battles between traditional enemies. So far these are “Rome vs Celts”, “Macedonians vs Persians” and “Orcs vs Elves”. I have all three, though I am still waiting for “Scots vs Scots”.
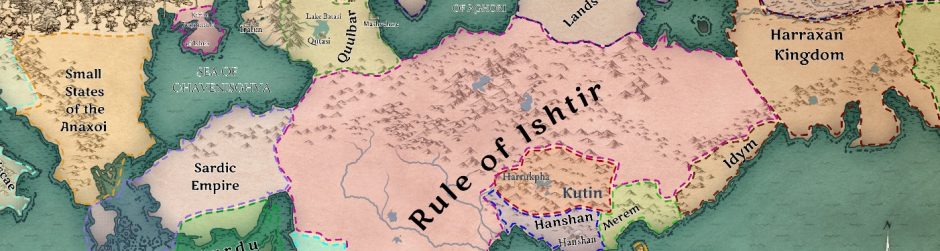
The system means that each army is compatible with the others, so I decided to fight Celts vs Elves and see how I got on. For the Elves I used the 80 point Army in the rulebook, the Celts I made up an army, but put in a Druid to give it a bit of a fantasy feel.
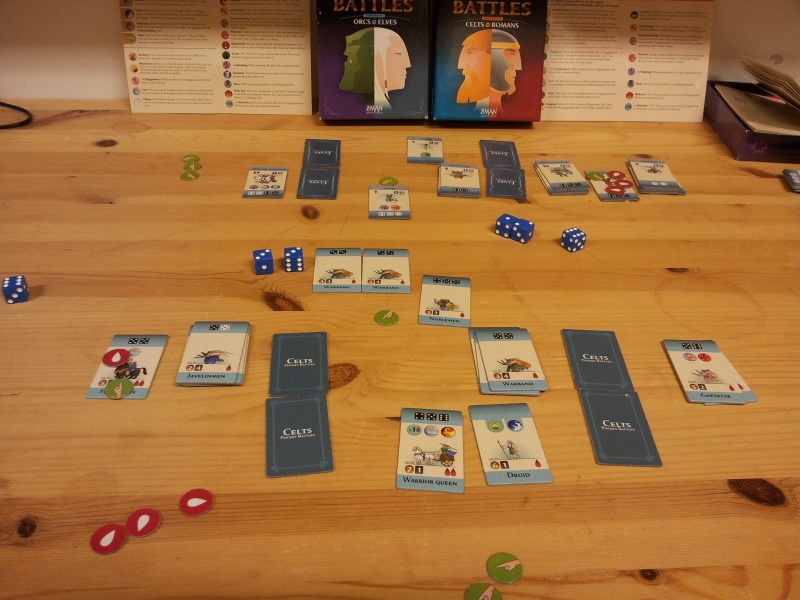
The armies are built of counters which have all the information on them. Each army takes up a space divided into six zones (front and rear, left, right and centre) and in the middle is the “Engagement zone” where melées take place. It’s all a bit abstract, there are no terrain rules, but it is quickly understood.
The counters have the point cost of that stand of troops, the number of wounds it can take, and the stacking limit (formation limit) it has when placed in a unit with others. You can mix troop types, but the stacking limit used has to be the lowest one in the unit.
If a stand has an icon on it, that indicates either a special ability or an inherent ability. An inherent ability is “on” all the time, a “special” ability requires an order to use. You get two sheets with an explanation of the abilities in the box. You also get some order/wound tokens, a ziploc back to keep them in and six normal, six-sided, dice.
If you click on a picture you will get a larger version of the photo.
Deployment

Each stack is a unit . A unit consists of one or more stands of a troop type. The round tokens are used to spend for orders or to mark wounds
The game is in turns. The player with initiative can move a unit for free to move it into a zone, then they have to spend an order, even if it is only to do nothing. After committing an order the play passes to the other player and each order is acted out until there are no orders tokens left, at which point the order tokens are recovered, the die is rolled again for initiative and the process starts again.
If a unit is hit, you can lose a troup stand or, if it has multiple wounds, you can place a wound token on it. Wound tokens are the flip-side of your order tokens though, so you have the choice of saving your stand or losing your ability to issue orders.
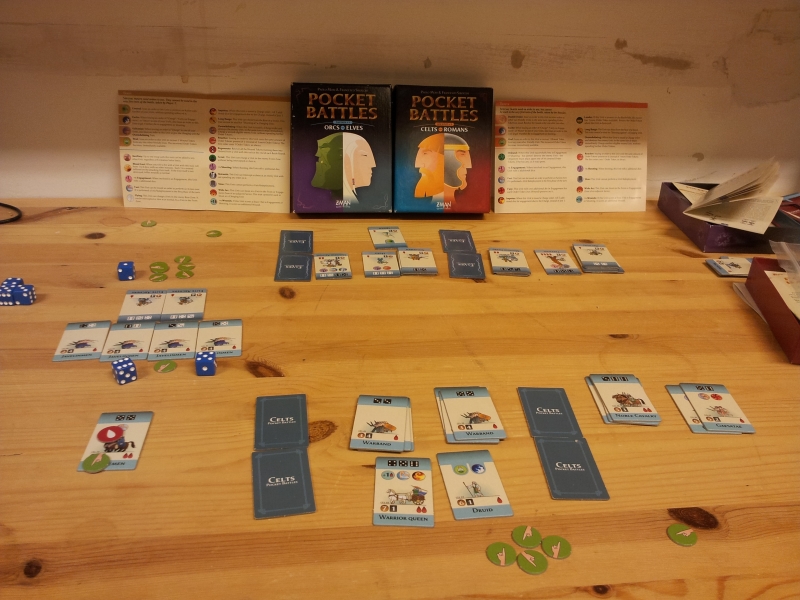
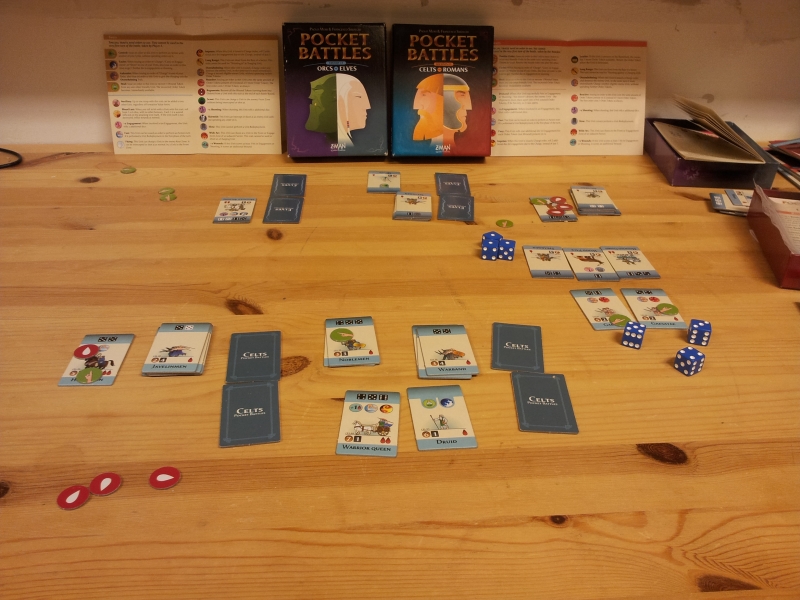
The opening of the battle.

White dice on the counter shows ranged combat ability, black dice show melée ability.
The Celts have won the initiative and a hero on their left has fired on the chariot on the right flank of the Elves. Any combat only rolls one die, unless there is a modifier e.g. charging into battle adds 1, and this hero gets to roll a second die when shooting.
He rolls a five and a four, and from the dice depicted, he hits on a 4, 5 and 6, so he causes two wounds, the chariot can only take two and is removed. Although the picture shows wound tokens they would not be used here, they remain in use for orders. In any case, you can always choose not to place a wound.
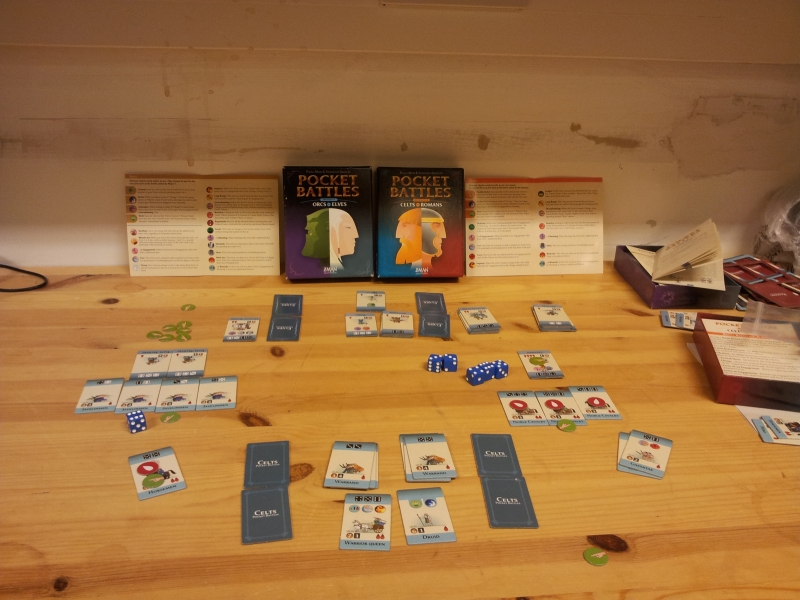
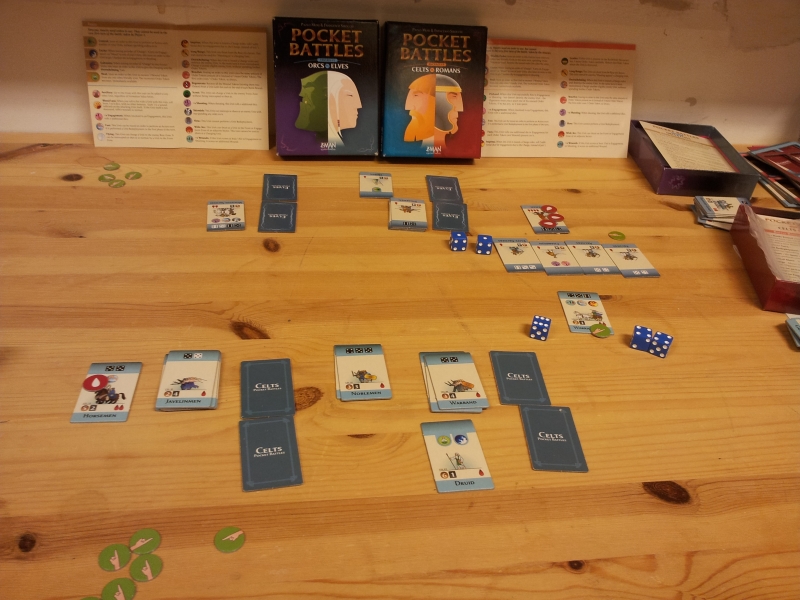
Melée is joined.

The Elvish archers have retaliated and killed the Hero. The horsemen attack but are intercepted
The Elvish archers have already had their turn, killing the Hero. Now the Celts order their horsemen to charge the archers, but the Elves order the stand of spearmen to intercept. The Elves could have had the archers shoot the charging cavalry, but at the cost of two new orders. To give an order to a unit that has already had an order, costs the same as the number of tokens they already have.
The Spearmen are wiped out, but the horsemen have to retire back to their own line.
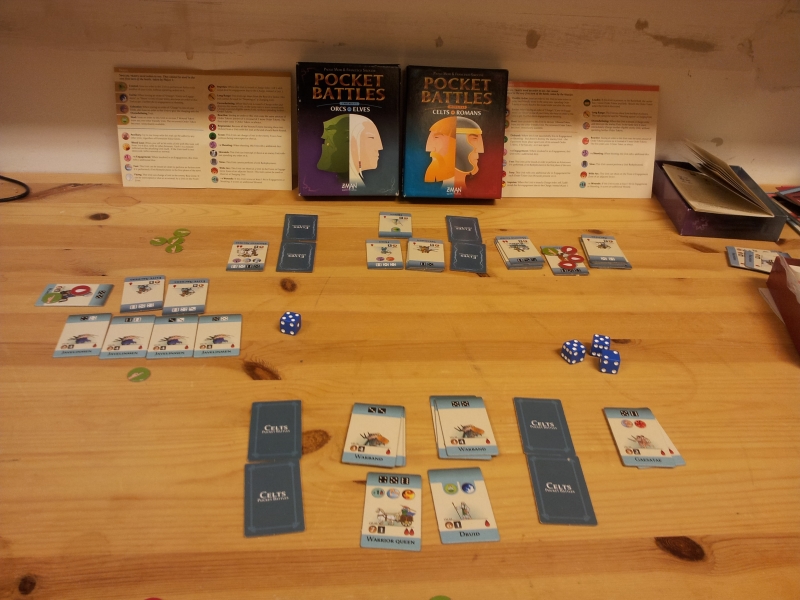
Another volley

- A unit that has taken an action can take another. The Elven archers on *their* right have a second order issued. Issuing further orders costs more than the first, and get more expensive.
The elves keep up the pressure on their right by another arrow volley but to no effect. The cost of new orders on a unit that has already taken an action increases the more you use them, so you have to take the chance about limiting your ability to respond later or even just to issue orders by continuing an attack.
The Arrow volley kills one of the opposing horsemen outright
The Celts take a risk
The Celts try to break through on the left
The javelinmen can either throw their javelins or attack in melee. With no rational though the impetuous Celts charge, and the Elves burn yet more orders to shoot back, this time with no effect.
Melée is engaged, though the archers can’t strike back, having no melée dice, and half the elves are slain.
The Elves strike back
The Elves attempt to divert the Celts from the losses they are suffering on their right
Before issuing orders, a unit of Mounted Archers is moved from the centre to the Elvish right. This is a free move.
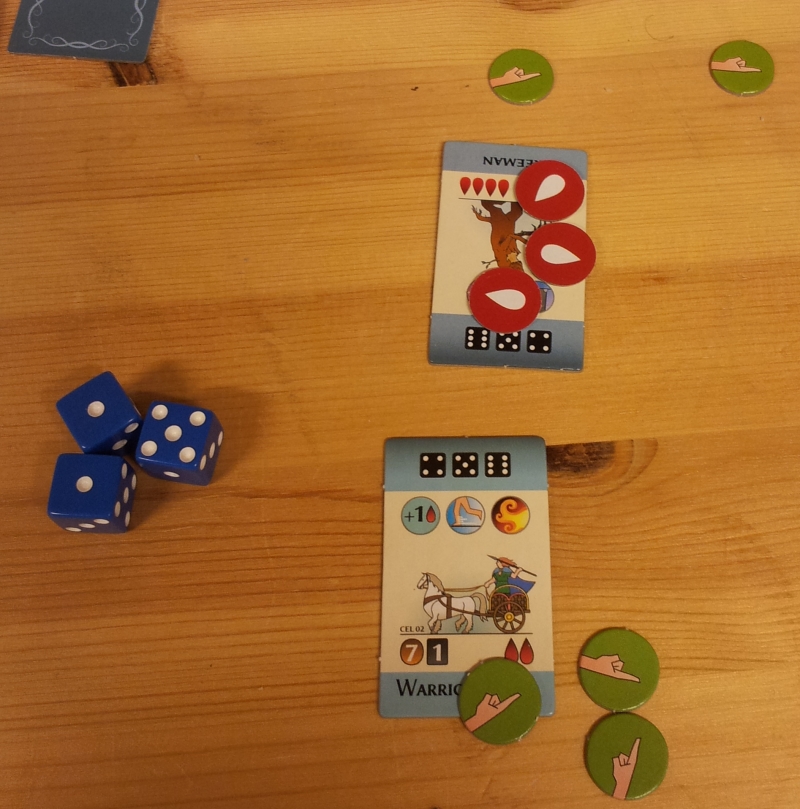
The treeman is ordered to advance, and the Celts send their noble cavalry to intercept. The treeman inflicts grievous casualties, but the Cavalry stay up, and will get to strike back!
They do so, and will inflict three wounds back on the treeman.
All orders have been used up, and this round ends.
The second round begins
The Celts continue to try and break through on the left, using all forces at their disposal
The Elves won the initiative and used that to order the Treeman to continue the attack on the Noble Cavalry, destroying them.
The Celts sent their cavalry to engage the rest of the archers on the left, and, as they are already engaged, the archers cannot fire back.
The archers are wiped out.
Time to advance the centre
The Elves centre weakened in order to support their right, the Celts launch an attack there
The Warrior Queen is moved forward as the free move. (though idiot here forgot to move the counter) and a Celtic noble and his warband advance. If they fail then the queen is there to strengthen the line. The attack is damaged by an Elven hero, slaying one of the warbands using archery.
However the Noble and the rest of the troops cut the hero into little chunks of elfmeat.
The woodland creatures strike back
An mixed Elvish unit attacks the Celtic right, now consisting only of Gaestatae. They respond and use the last Celtic order to induce extra effect through fury
Trying to regain the initiative, and wary that the centre and right is weakened, the Elvish left launch an attack using a mixed bag of Mounted Guard, Spearmen and Woodland animals.
Their attack is pathetic though, and the Celtic player use their last order to boost the effect of the responding Gaestatae. leaving the attackers with a choice. Put a wound on the Mounted Guard and leave it operational, or let it fail. They choose that to keep the extra order.
Let the grey geese fly!

- The next elvish move is to use archers against the Gaestatae, wiping them out utterly
The Elven archers on their left let loose, destroying the Gaestate and the Celtic right is unprotected!
However the Celts have a larger prescence on their left, and the centre is stacked in the Celts favour, so it is not over yet!
It is the end of the second battle round
The Queen rides forth
The Celts move the queen from the centre to the right, and bring it forward to the attack
The Celts use their free move to move the Warrior Queen from the centre front to the right front. As the Warrior Queen is a fast unit it can also be ordered to attack.
This foolhardy attack actually succeeds through awful die rolls by the defenders. The Elves should have destroyed the attack, but didn’t.
As it is, the Queen causes 3 wounds, plus one extra because of a special ability, so the elvish archers are destroyed.
End game
The Treemen attack again, and the warrior queen counterattacks (needing more orders to do so)
The treeman attacks but only causes one wound, the Queen’s strikeback is enough to kill the treeman.
The Celts use missile fire to destroy the last unit on the Elvish right and that leaves both flanks open.
Flank attacks do not allow the target to counter charge or to fire back, and the end has come.
Victory to the Celts!
Conclusions
This is a fun wee game with everything apart from the playing surface is there in the box. There are ideas I would like to steal for a figure game, particularly the order/wound system and the score on the dice to cause hits. I have seen pics, I assume by a demo team, of figures being used, but a more traditional game of this with figures would need a lot more tweaking.
I have another “grid” game (Lost Battles) and I quite like the idea that you fight for control of sections of the battlefield, in some ways it is no less artificial that other figure games.
I had sorted out the counters and forces I would be using the previous evening, and the game itself took 20 minutes from the initial initiative roll until the end. If you had the time, this would be a good game where each player plays both sides to see how balanced it all is.
I would like access to the points system, mostly because I would like to use it for pocket Lord of the Rings Battles. My other other regret is these games are hard to get in the UK, they need better distribution, assuming they are still an extant company.
There is nothing inherent in the game aiming it as solo play. I tried to play each side as best I can and I used dice rolls to chose between seemingly equally valid options, though in a couple of cases I gave the Celts a 1 in d6 of choosing the more insane option out of two or three, which is why the Javelinmen charged instead of threw javelins.